
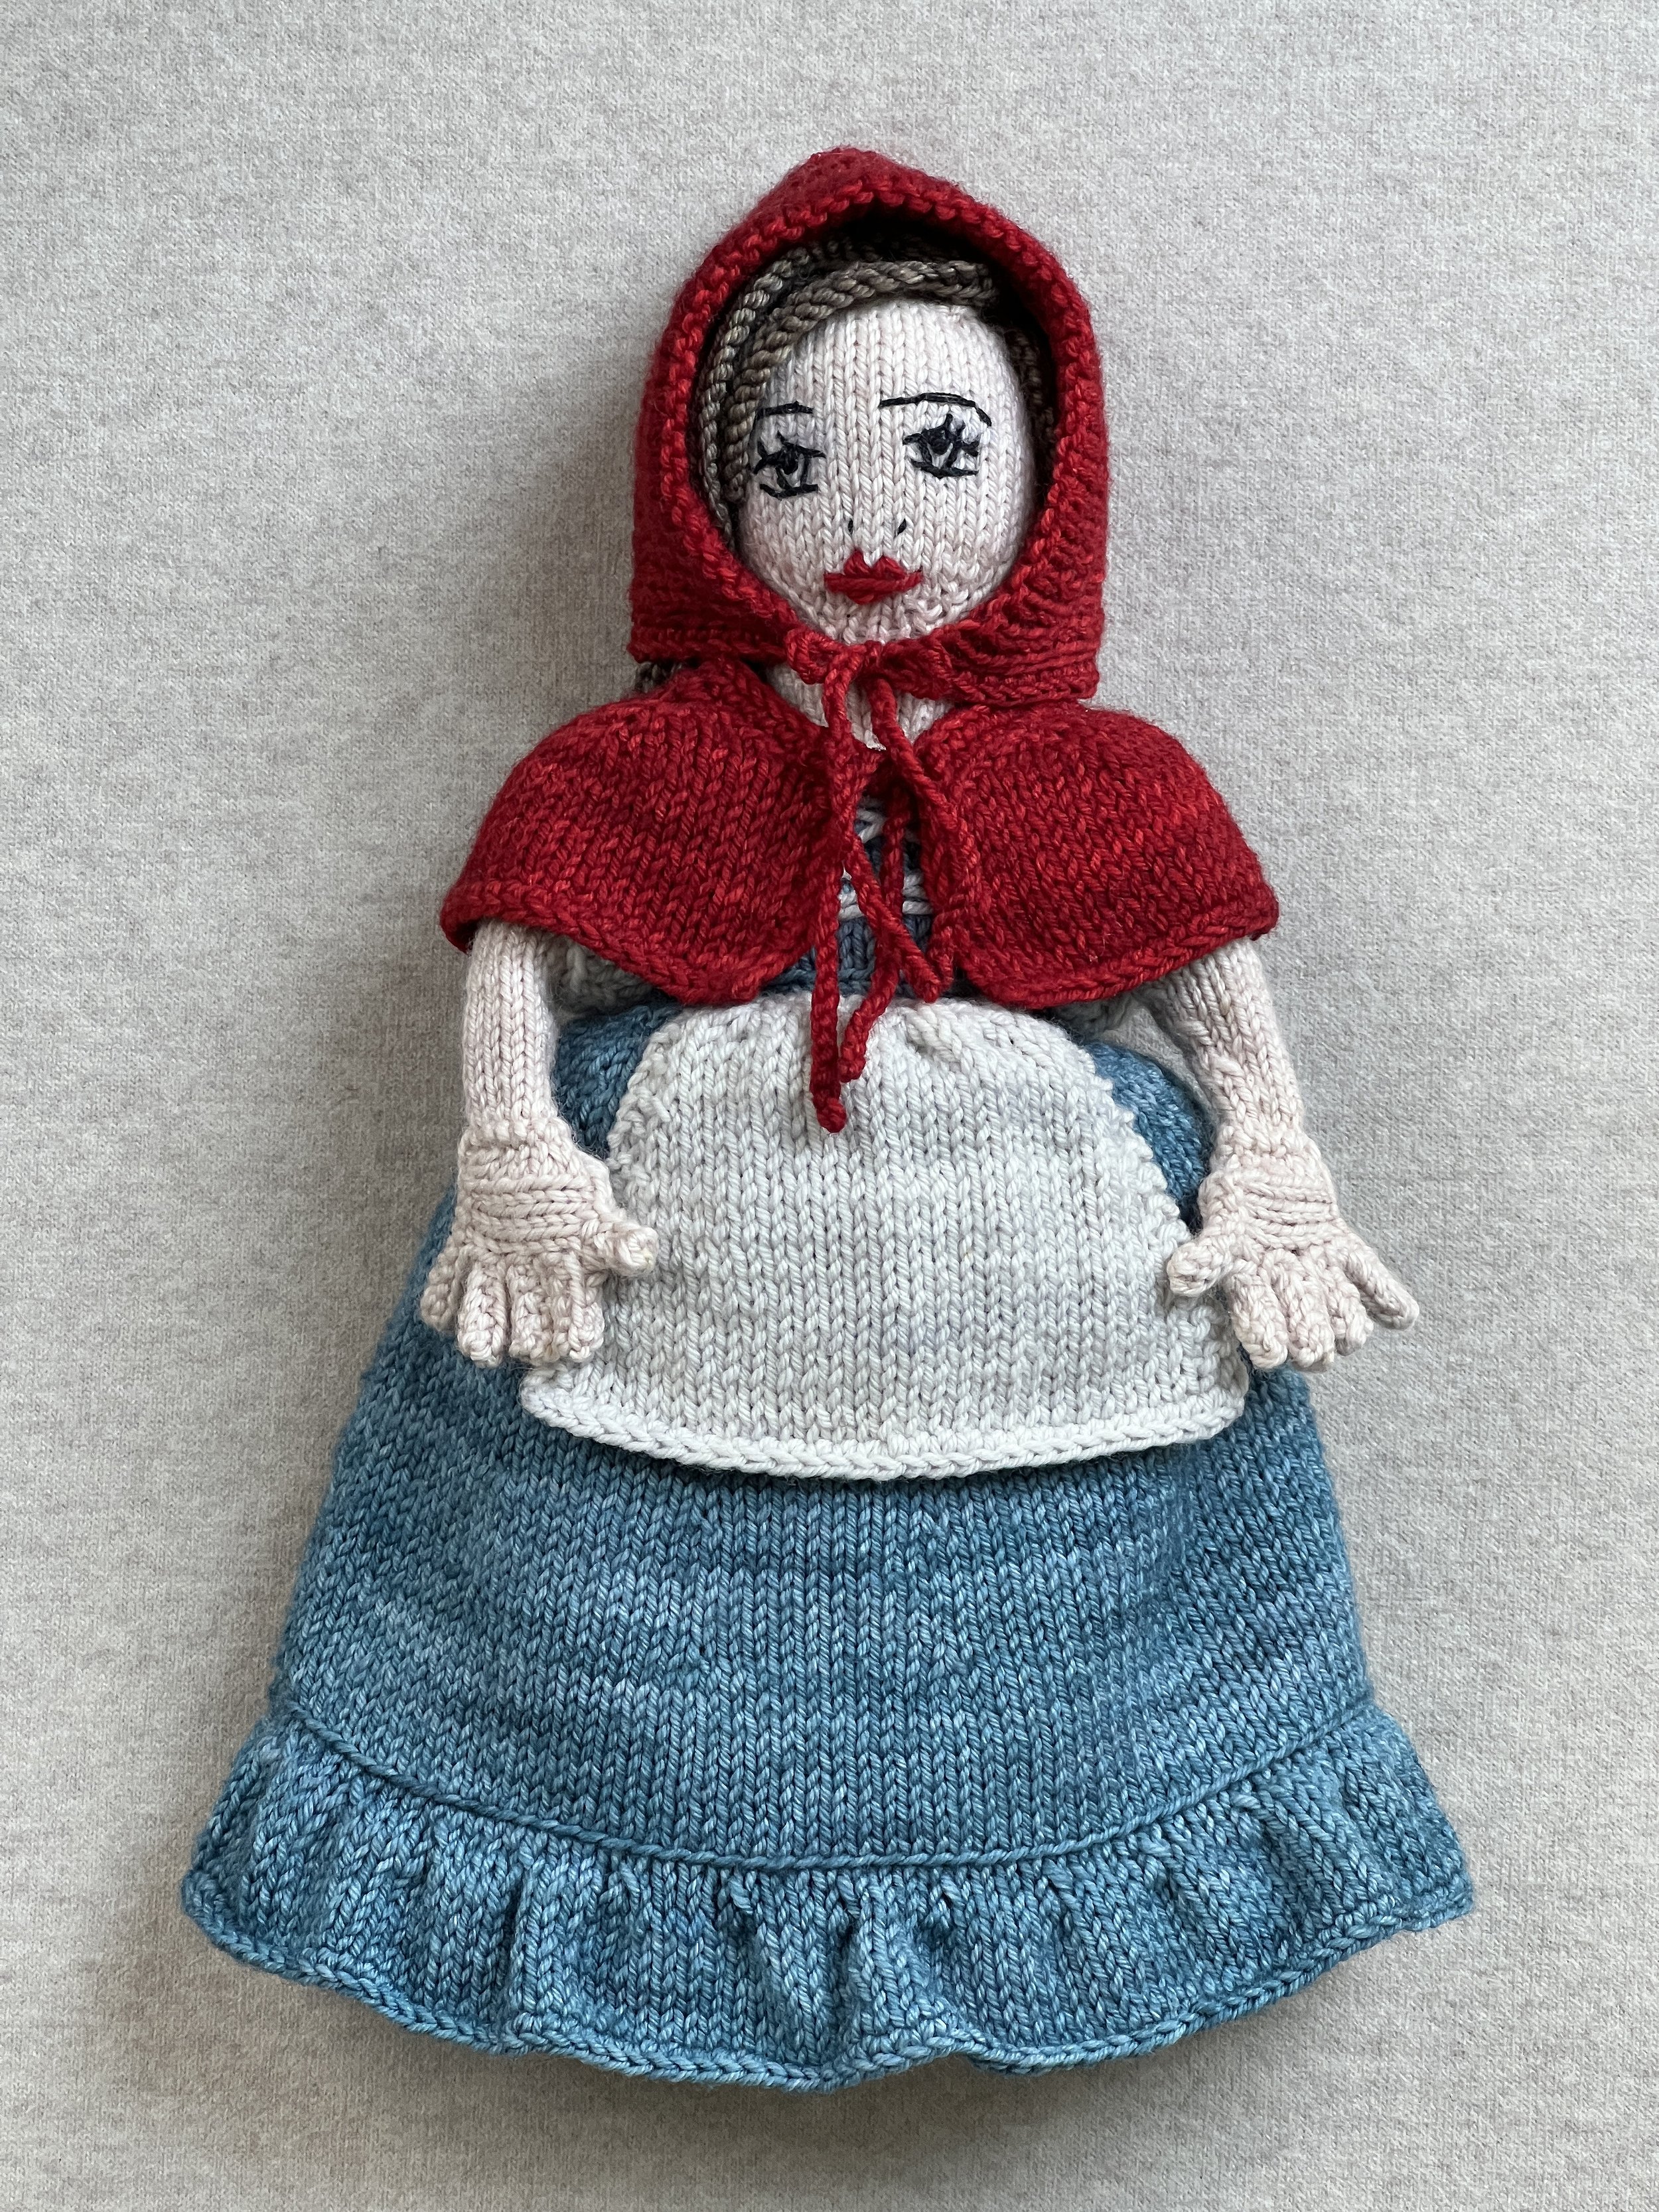
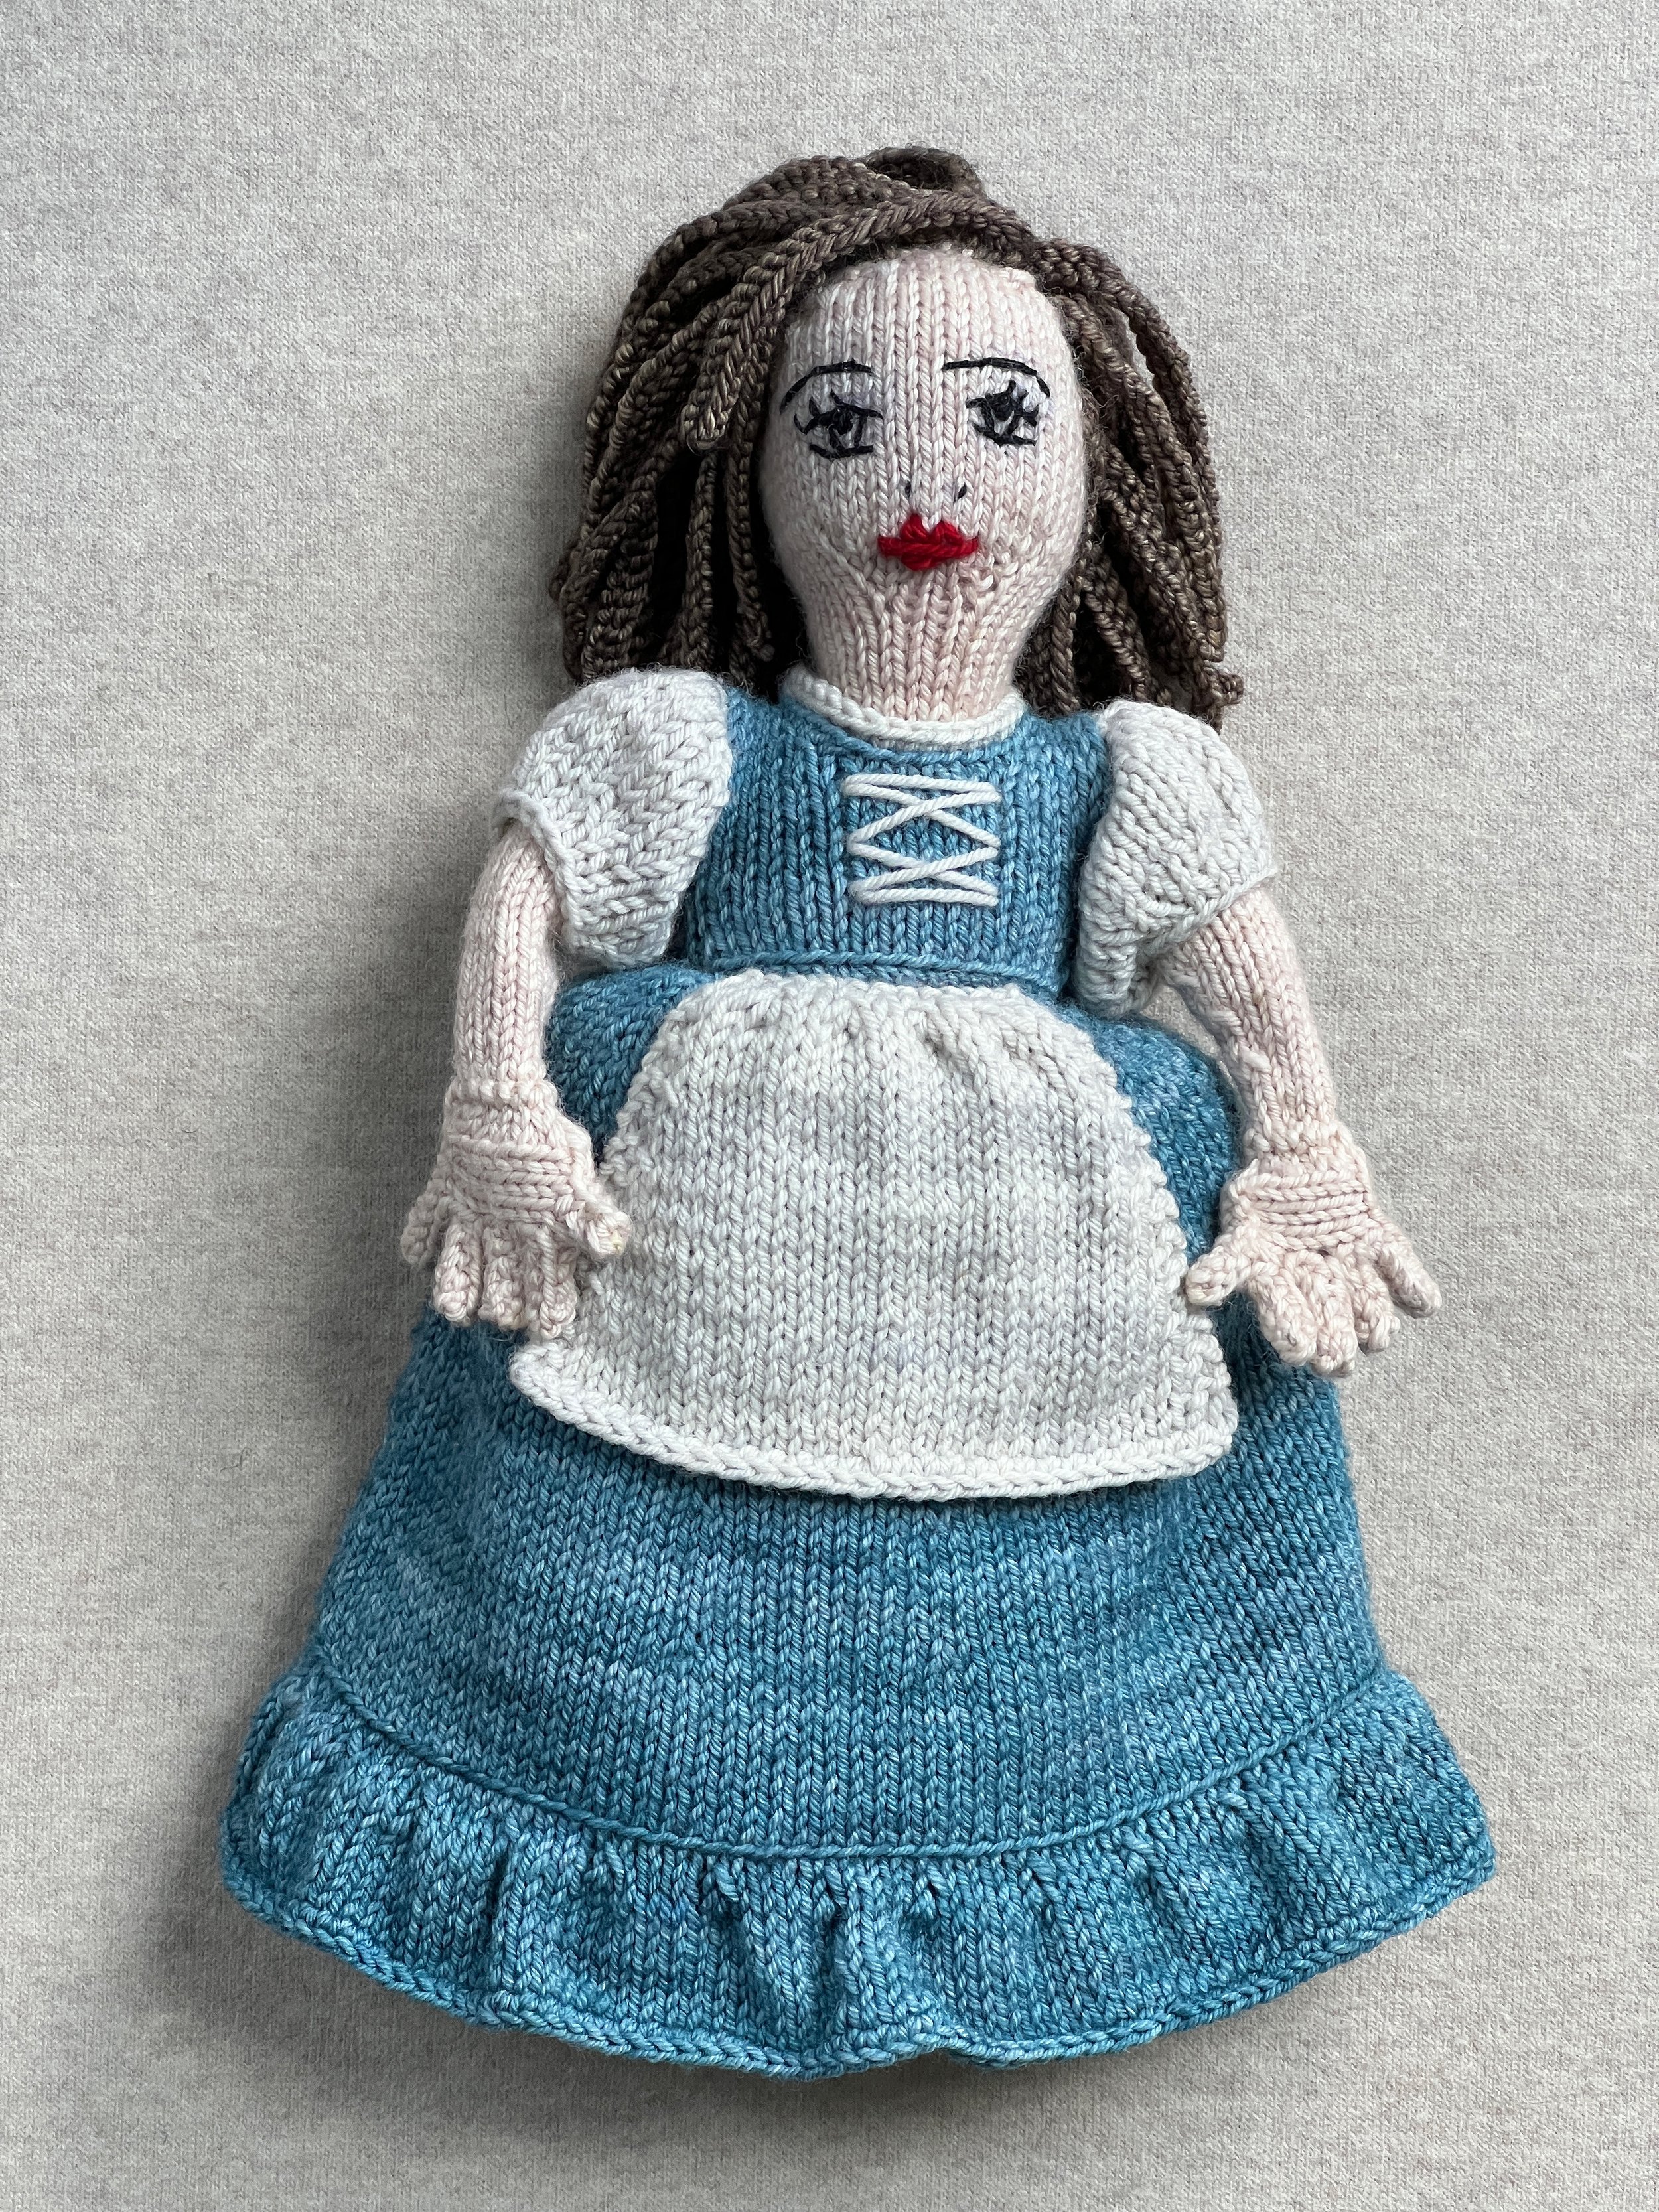
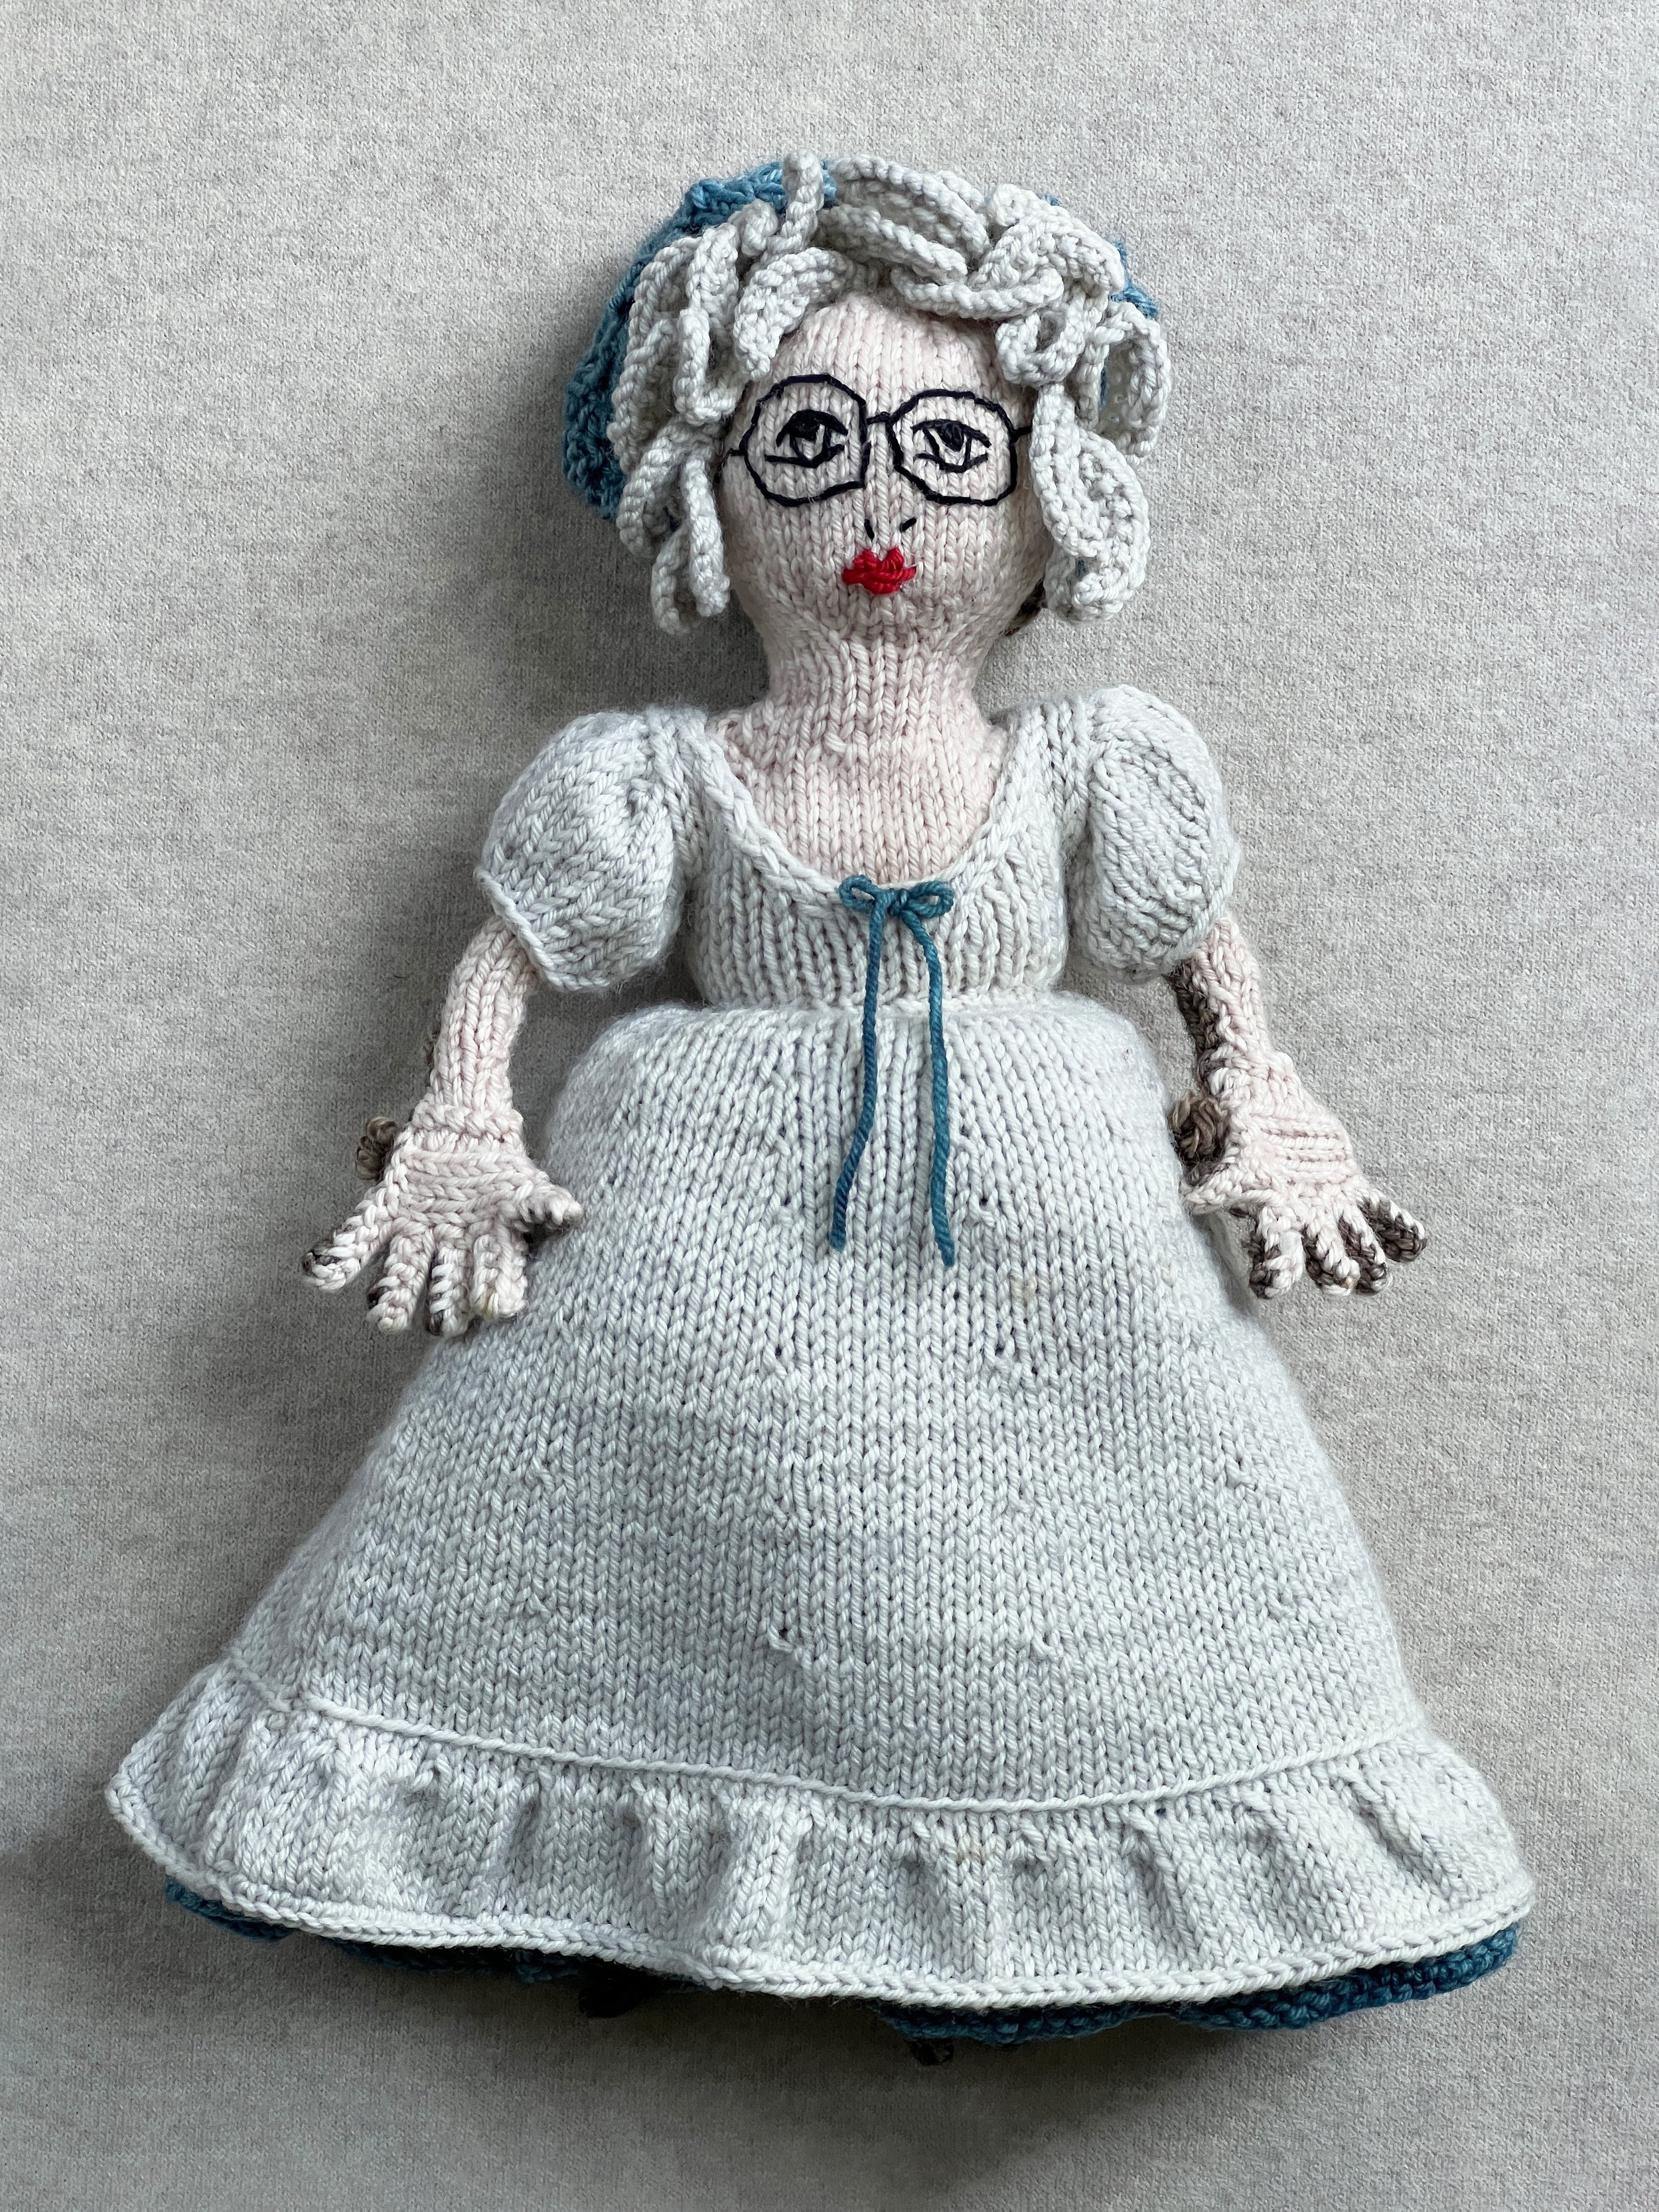
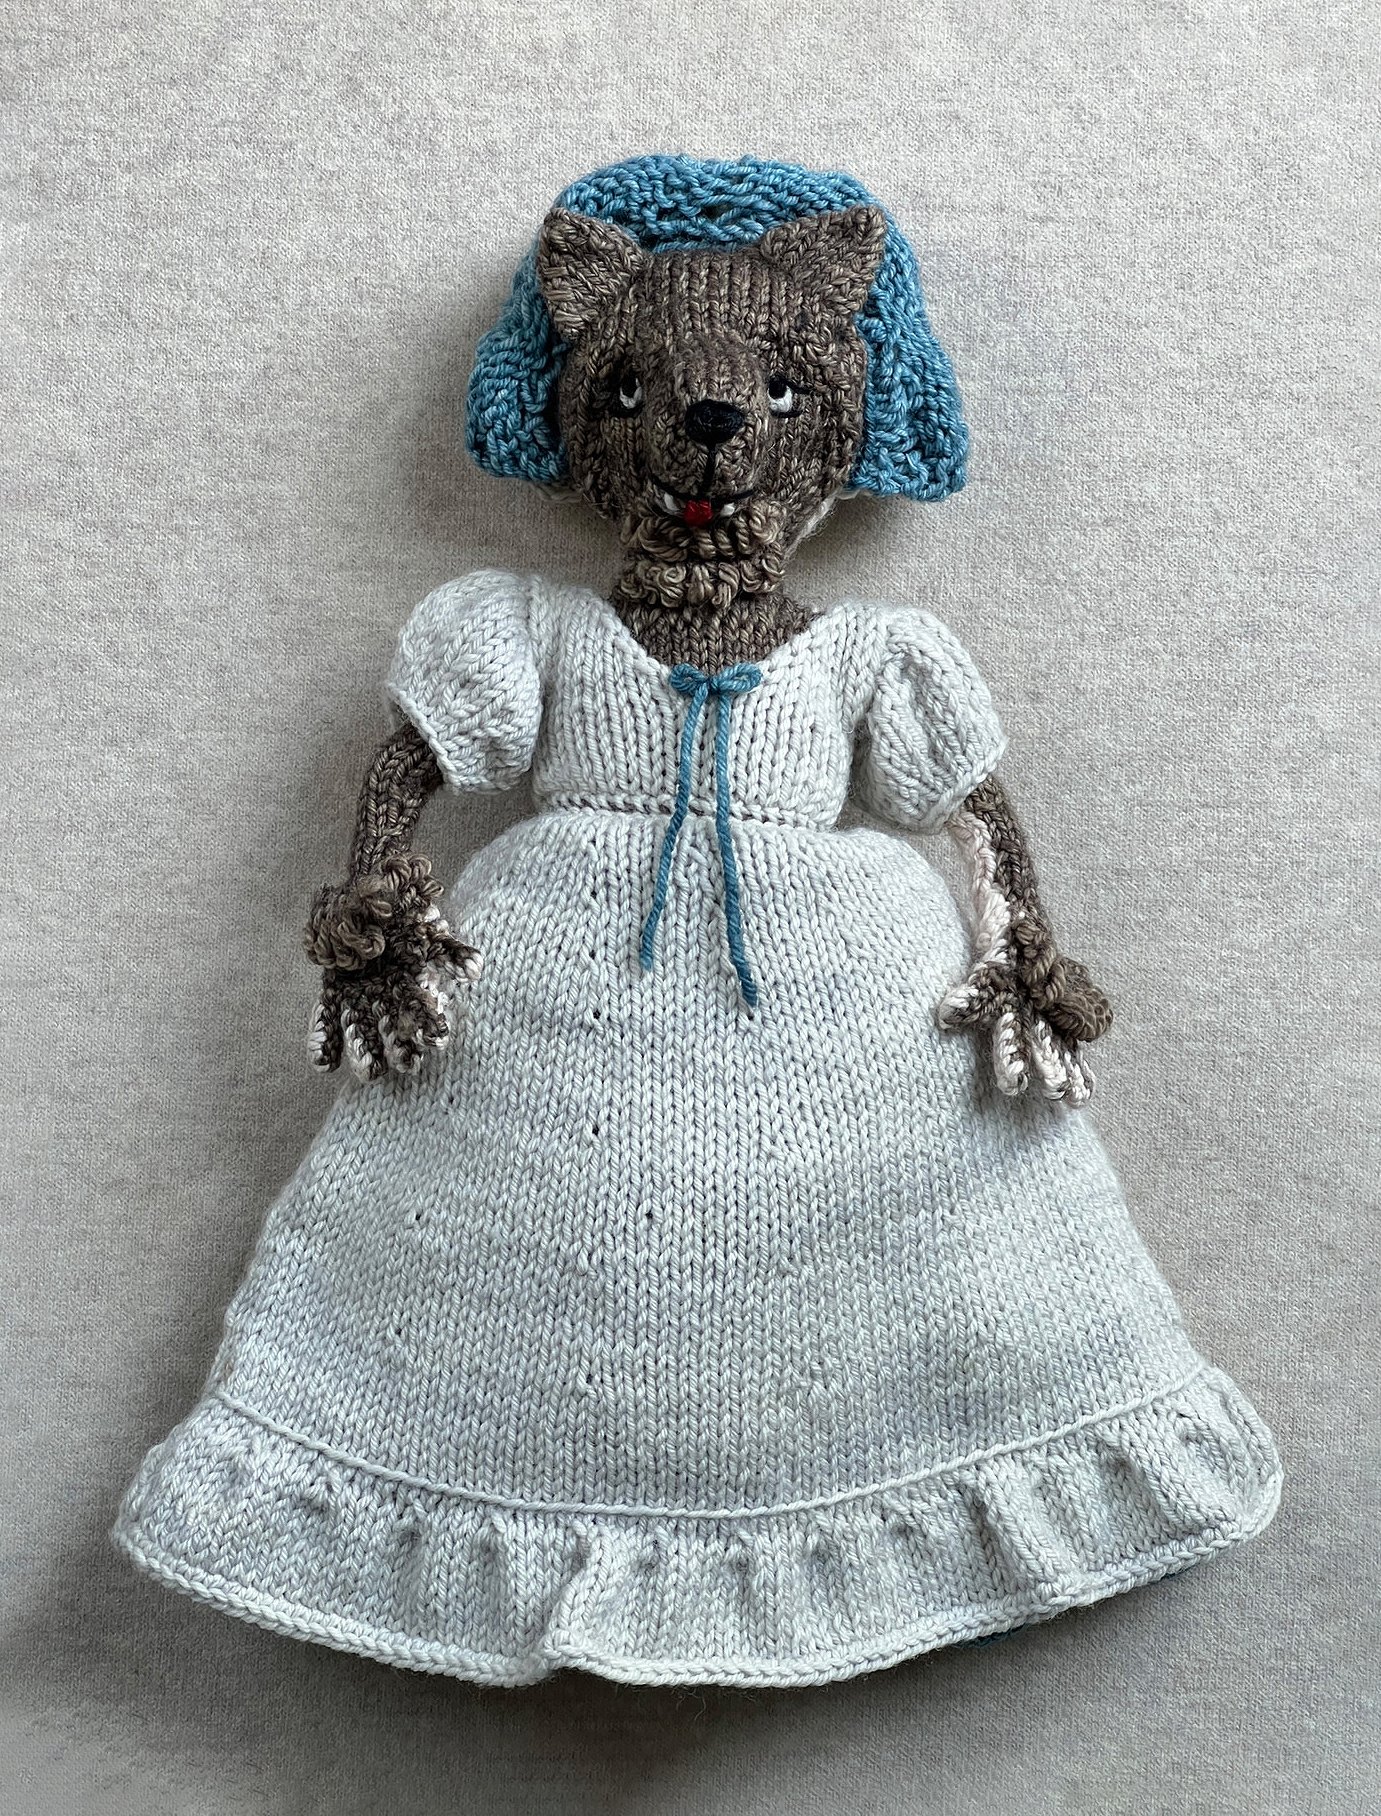
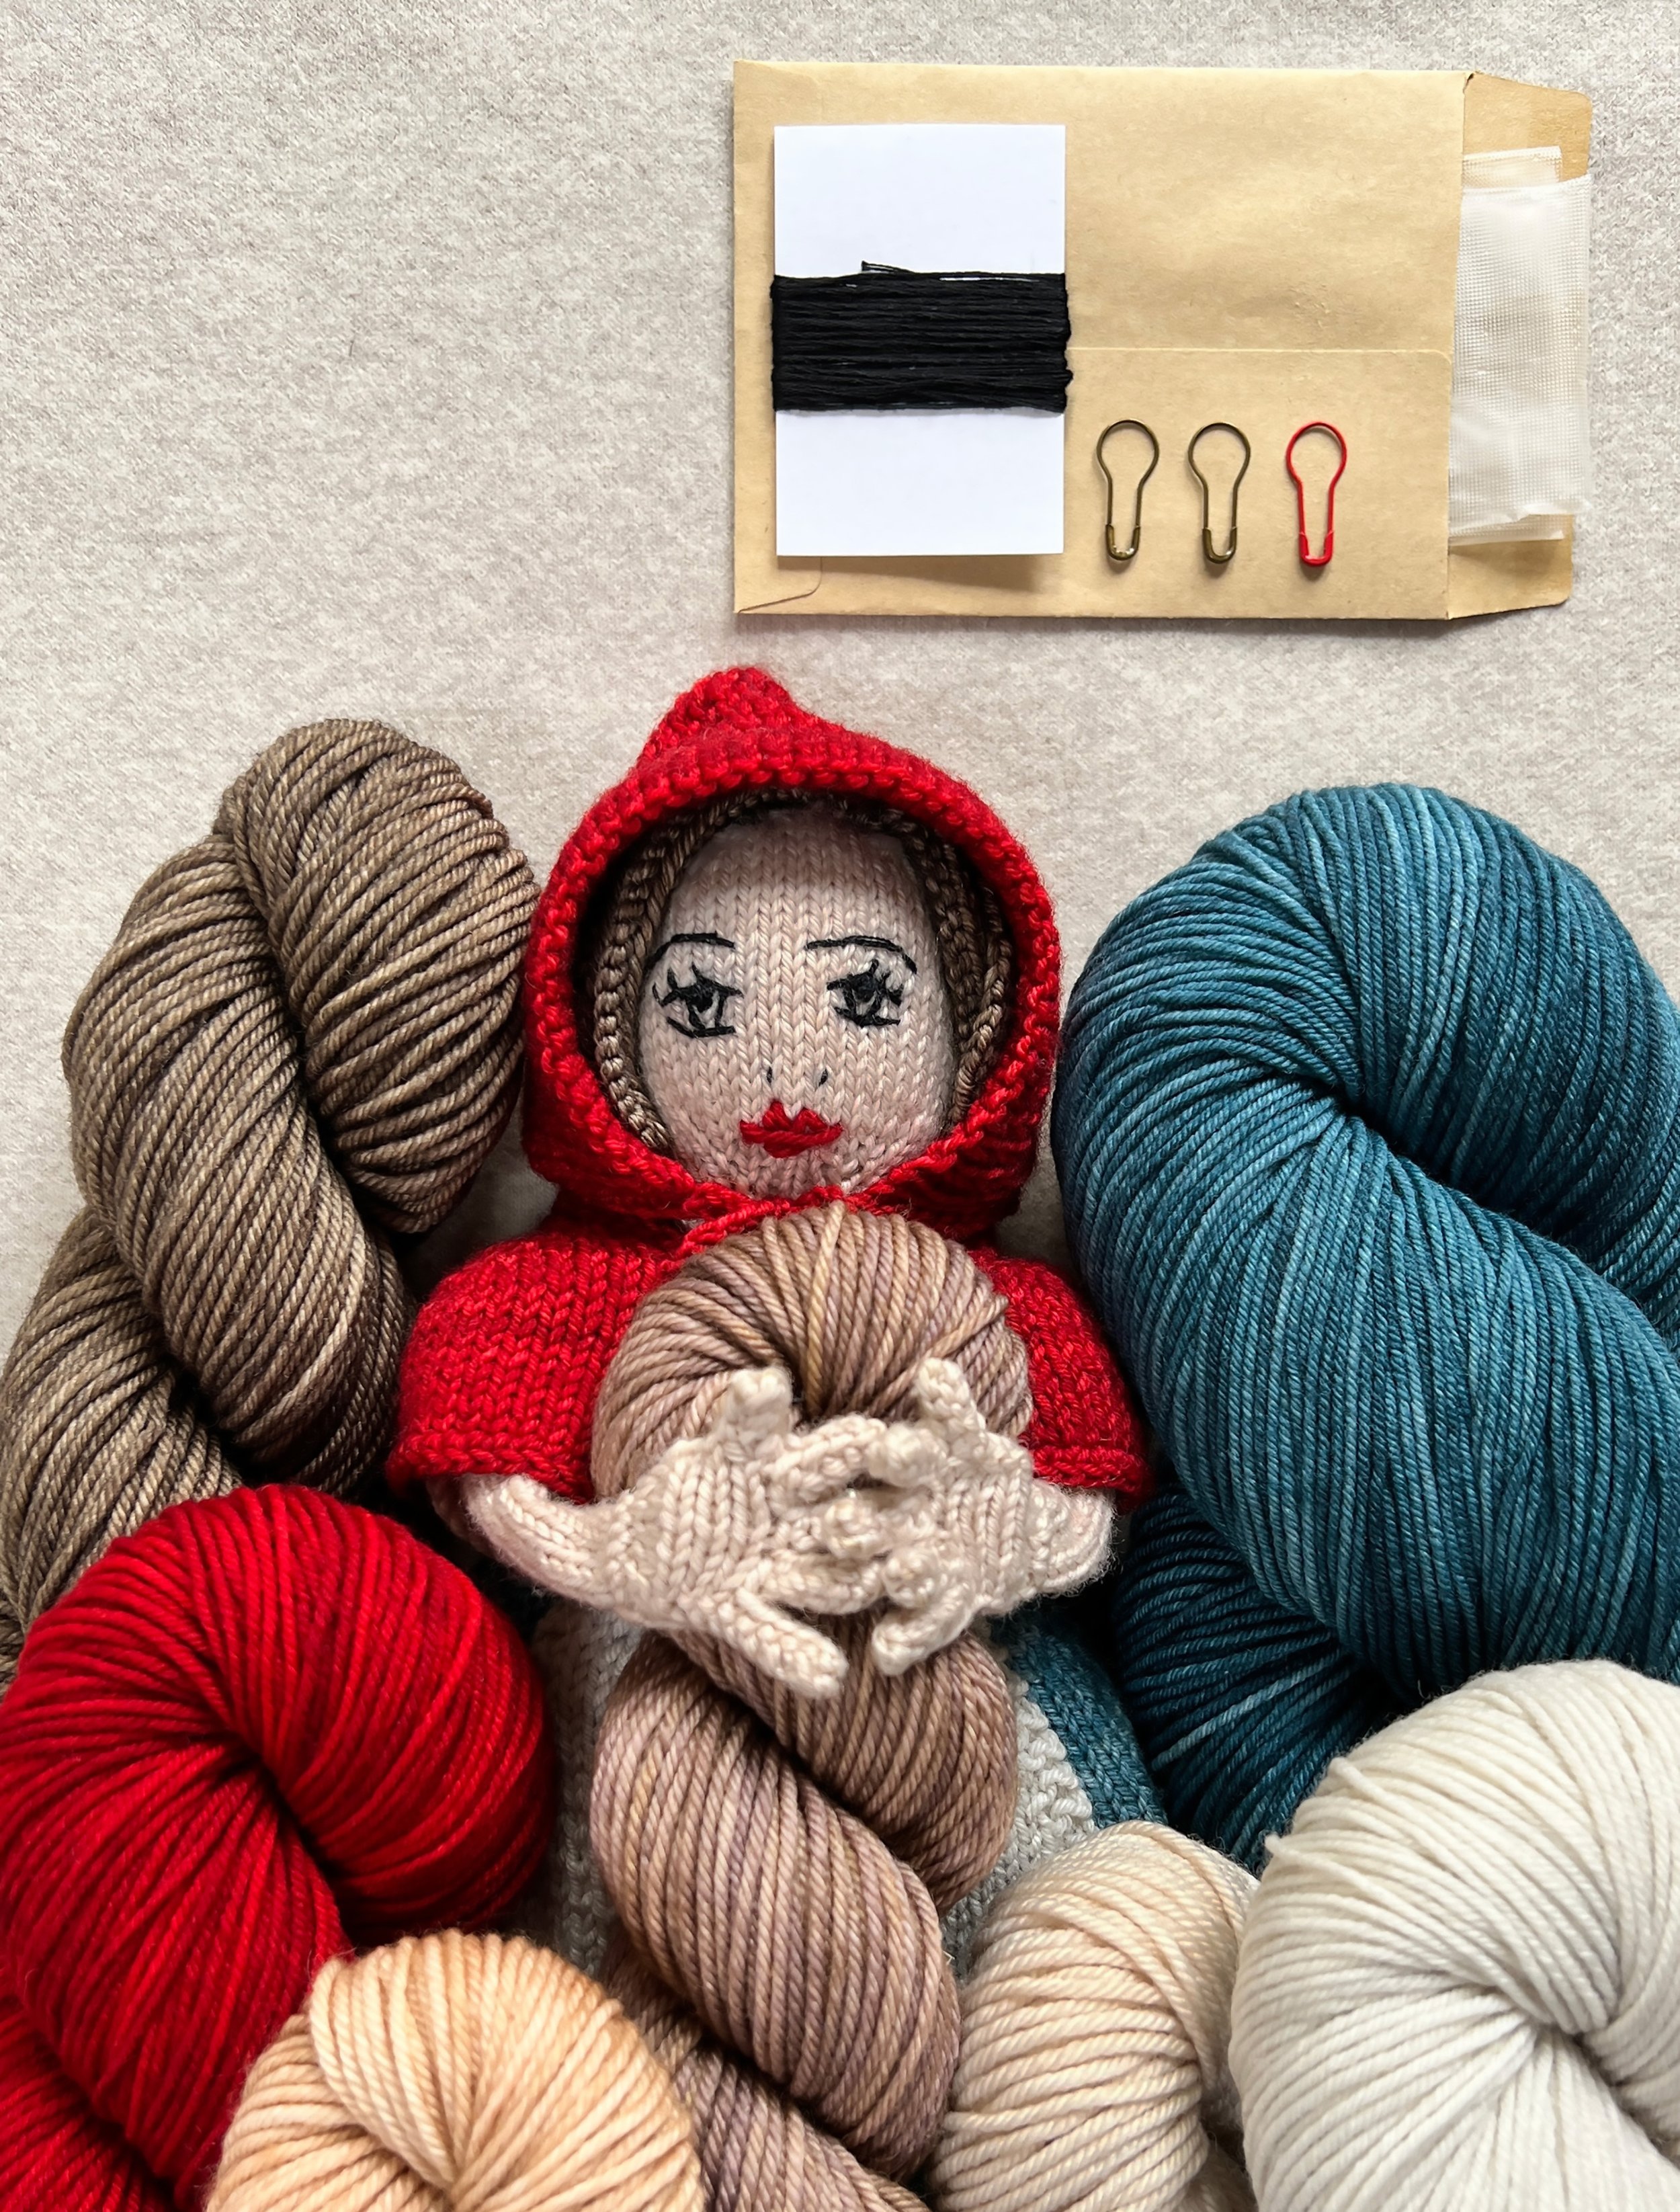
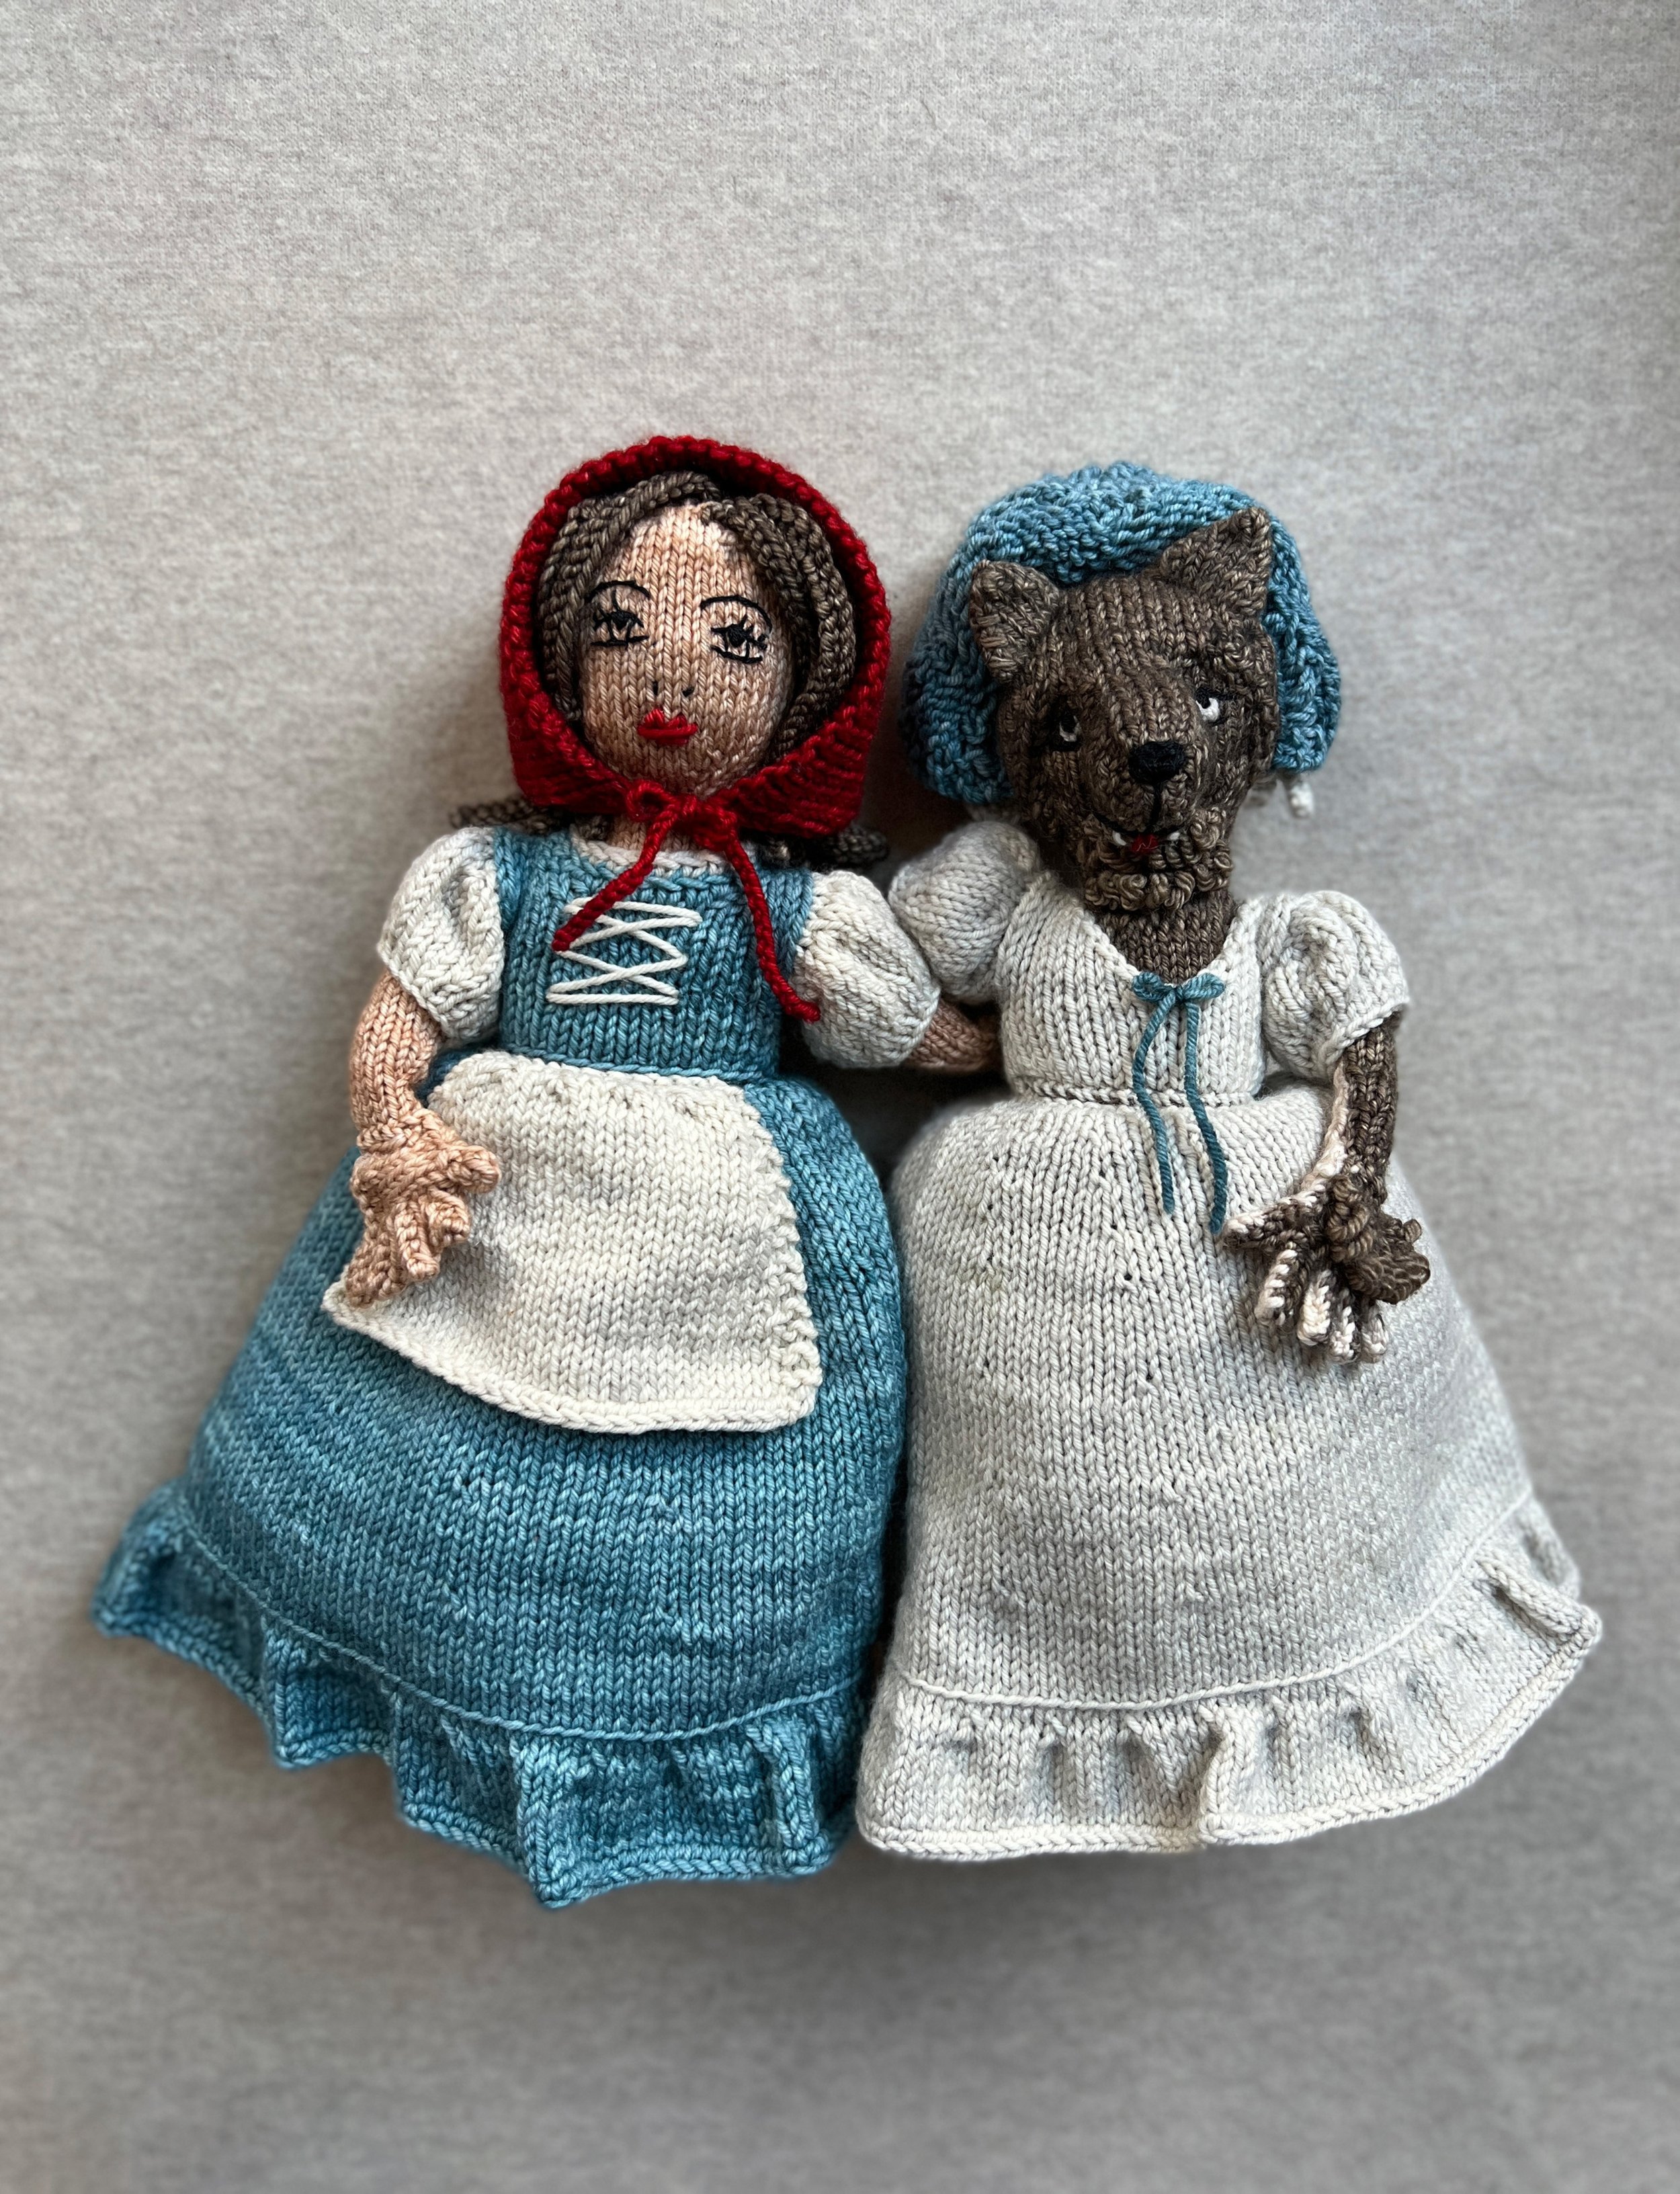
LITTLE RED RIDING HOOD 3-in-1 DOLL
Having been a child during the 1970s, I created this pattern with a great deal of nostalgia and love for that time period. In the wee hours of working, I would often float away in my thoughts and draw upon the sense of home and the element of surprise and excitement I felt long ago when I first saw a fabric “topsy-turvy” Little Red Riding Hood doll at a local craft fair. I remember how fun and satisfying it felt, flipping things over to reveal the wolf and how the sewn details seemed extra special to me, drawn as I always have been like a magnet to anything handmade.
I often get asked about the skill levels required (and the specific techniques used) to make my patterns and it is useful to take a moment to address those questions here. I would probably rate this pattern as intermediate to advanced-intermediate. In addition to knitting, purling, increasing and decreasing (all at a smaller gauge), you will need to know how to join pieces of knitting together using mattress stitch and a tapestry needle (you may use any seaming method you’d like, but I primarily used mattress stitch), and there is some light embroidery/basic stitching required to make the faces and the lacing on the front of Little Red’s top. A complete list of the materials needed can be found below.
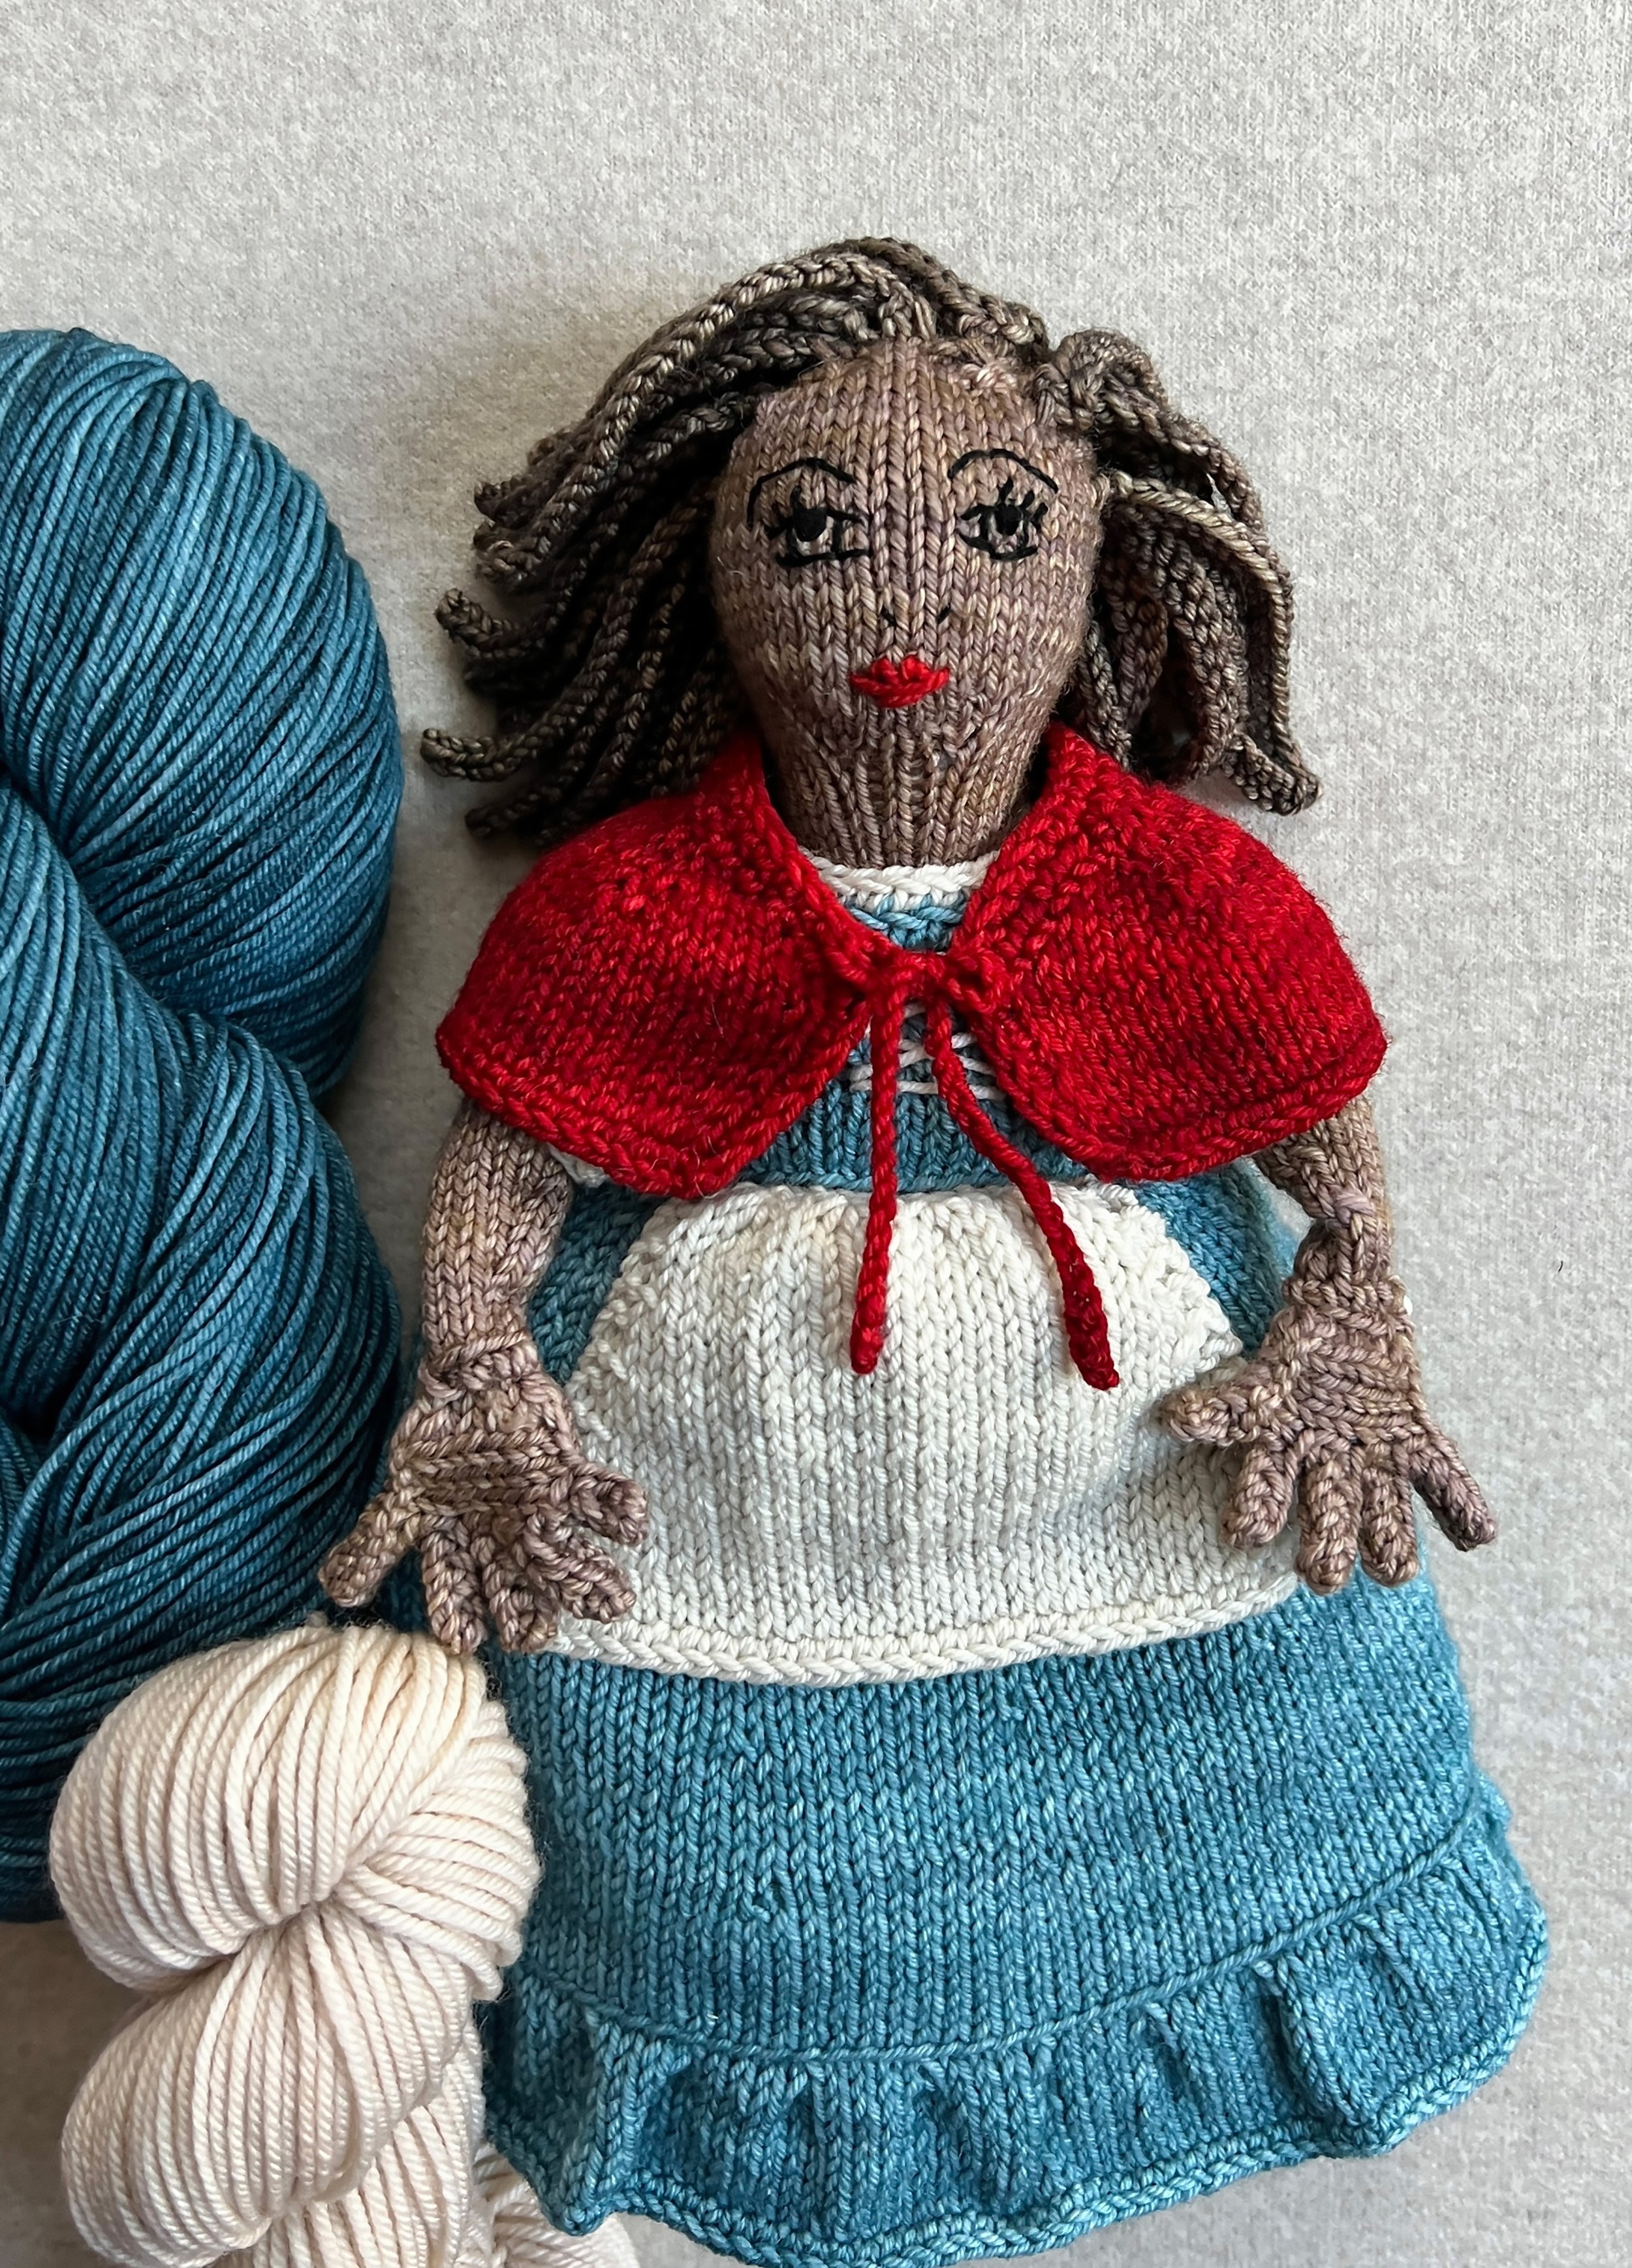
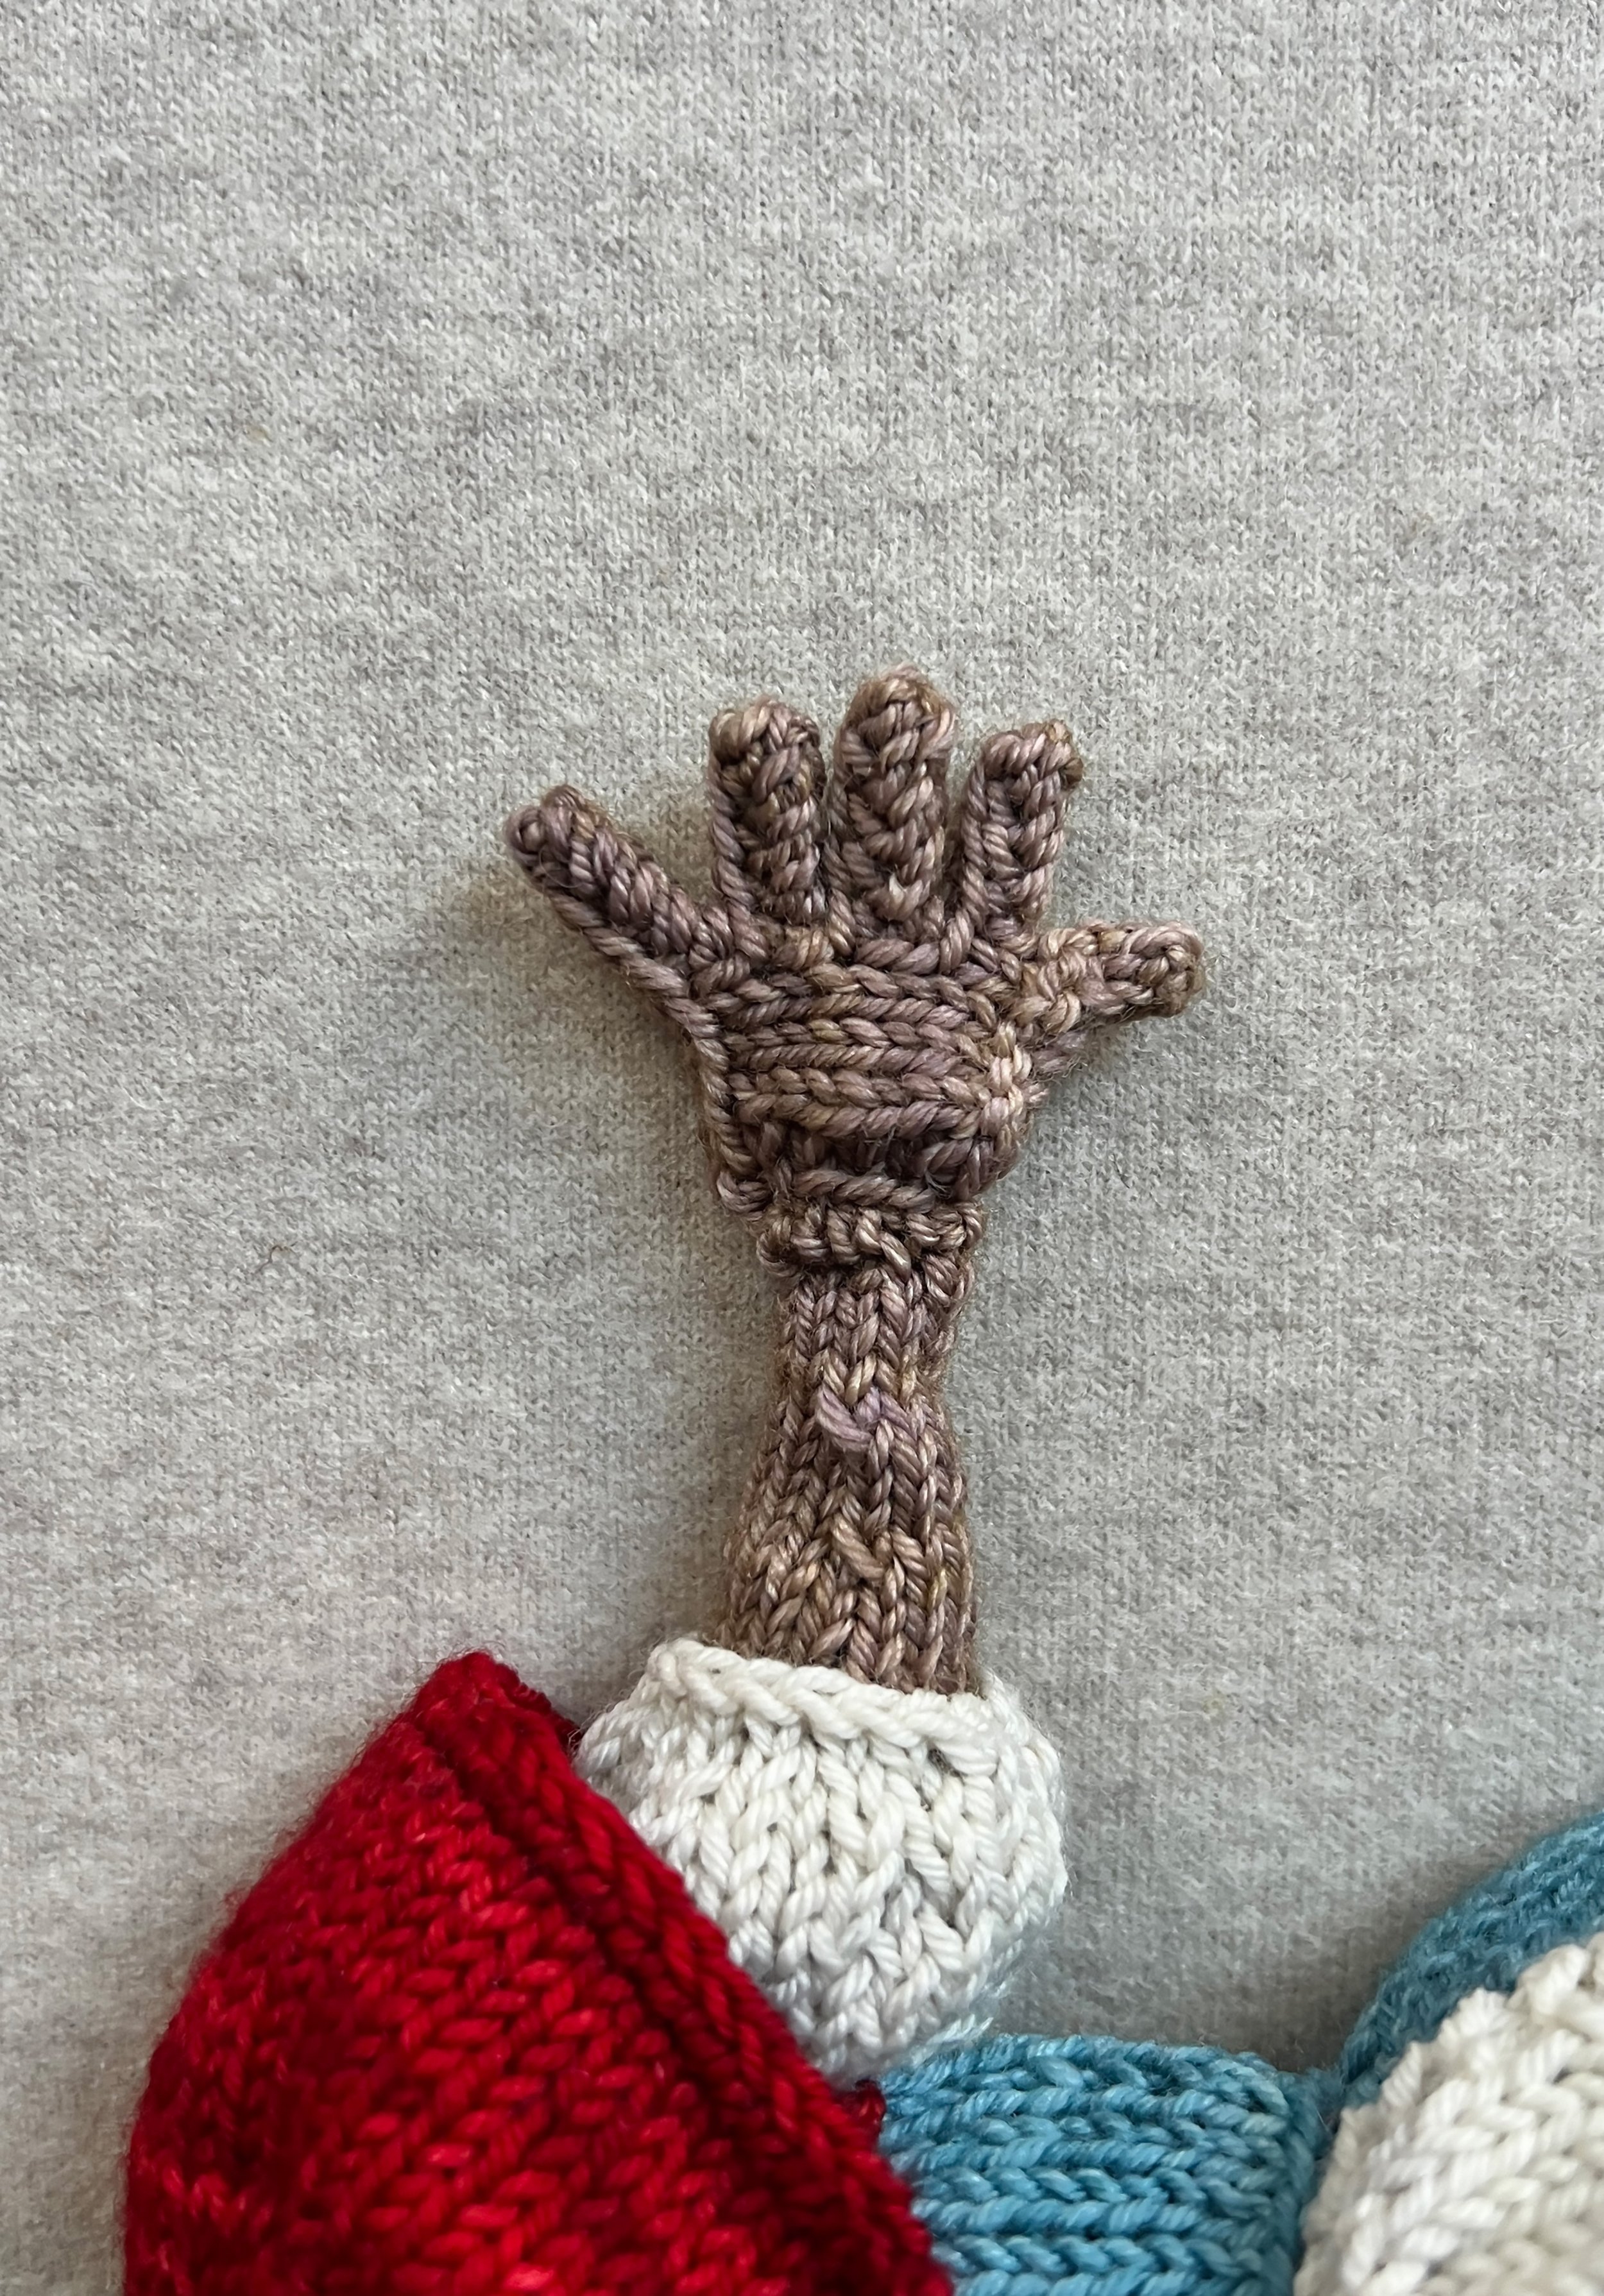
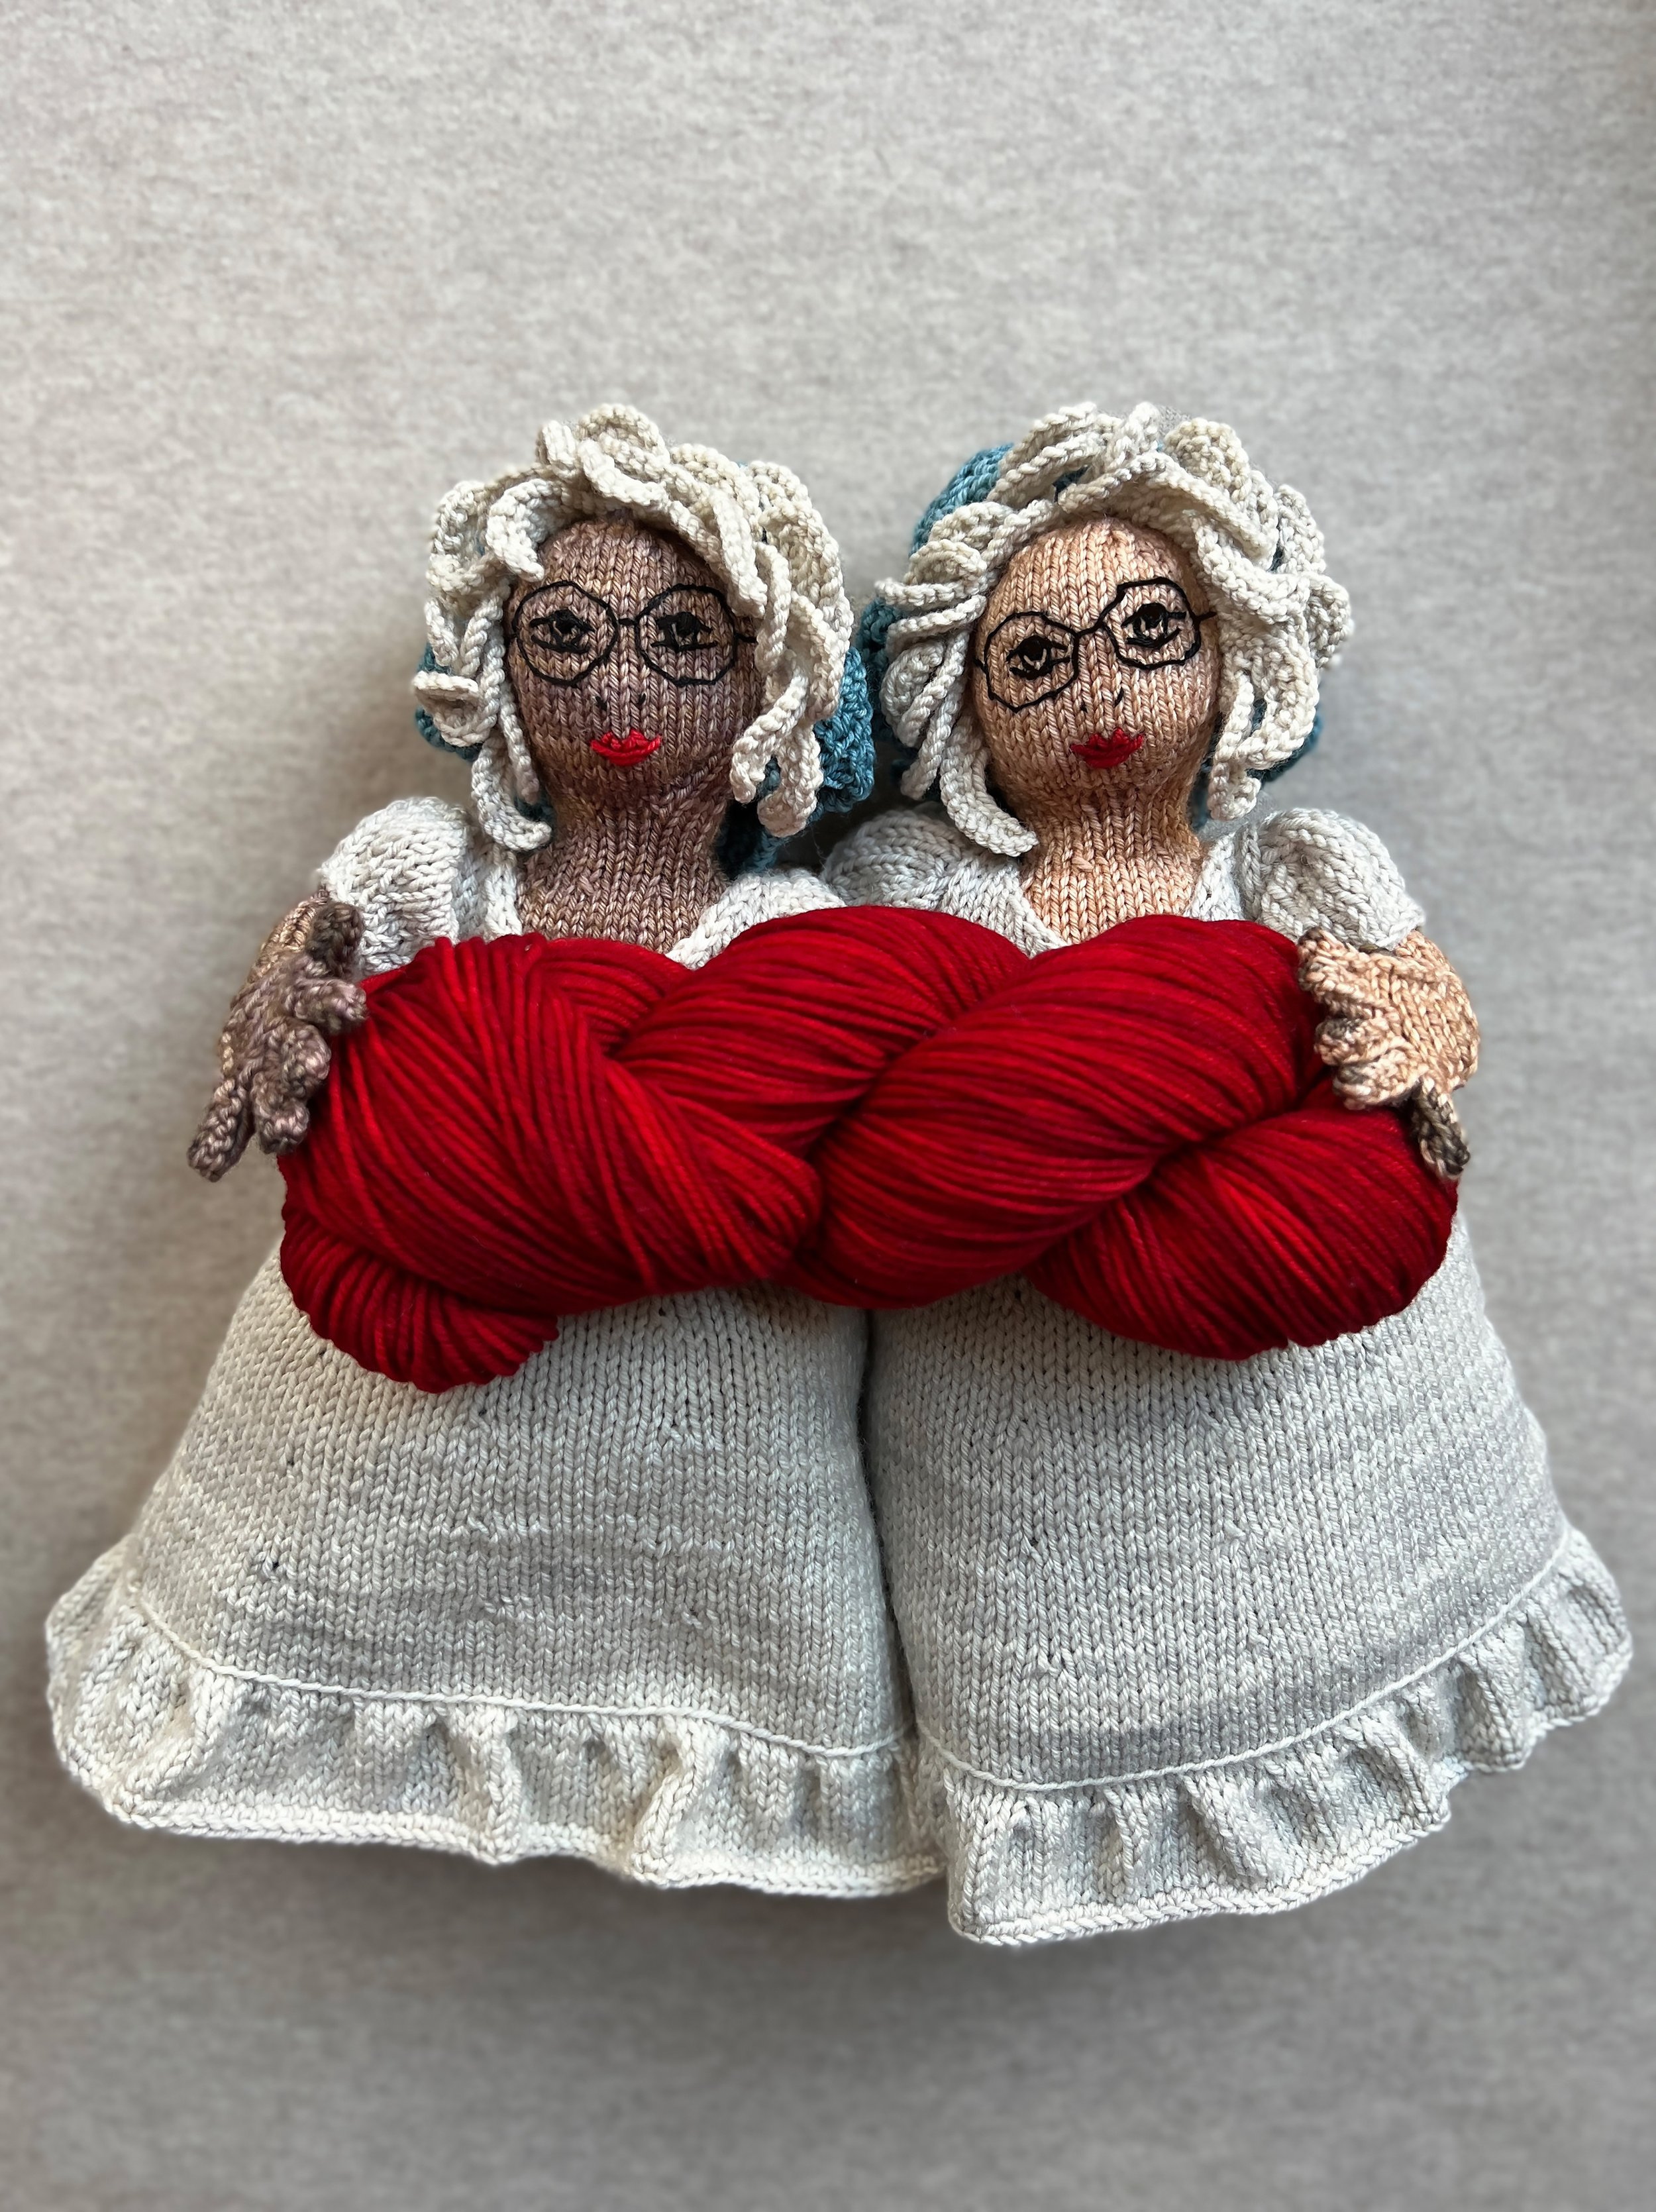
None of the steps or design elements are overly difficult, but they do take time. I opted, for example, to knit the hair (instead of using single strands of cut yarn — which although faster, I found far less tidy) and in making the hands, I knew that I wanted them to look more like hands as opposed to something mitten-like or less defined, and these choices all extend the knitting time. Throughout the development and writing process however, I was mindful at every point to streamline and combine efforts in order to make the knitting as straightforward and enjoyable as possible. I used a larger needle size for the clothes, for example, and worked things primarily in stockinette stitch. The stitch pattern I used for the reversible bonnet for the Grandma/Wolf is a notable exception but still a purposeful one. When I read that the motif was from the Victorian era and was once used specifically to make Grandma “clouds” or head coverings, there was no way not to use it, the backstory was simply too perfect. But one could still easily make the bonnet in garter stitch instead and have it work just as well.
To help keep the face embroidery instructions as replicable as possible, I used small pieces of easy-to-use water soluble stabilizer, and every aspect of the pattern from start to finish includes detailed how-to images. I’m also always available to answer any questions you may have along the way.
For yarn, I was fortunate to once again collaborate with Kelson Goods. Keith (the owner of Kelson Goods) is not only an invaluable sounding board and friend to me, it is very easy to use words like “impeccable” and “thoughtful” to describe everything he does. The colors he custom-created for this pattern are their own fairytale — they feel like home, and I am immensely proud and excited to partner with him and for all of the projects we have ahead on the docket.
For now, I am sending love to all and happy knitting.
MATERIALS YOU WILL NEED
Yarn A: 1 skein of Kelson DK from Kelson Goods (75% superwash merino and 25% nylon) in Pale Cremini, Honey Mushroom or Deep Porcini. Each skein is approximately 122 yards (112 meters). Approximately 68 yards (62 meters) required.
Yarn B: 1 skein of Kelson DK from Kelson Goods (75% superwash merino and 25% nylon) in Wolf Brown. Each skein is approximately 122 yards (112 meters). Approximately 121 yards (112 meters) required.
Yarns C and D: 1 skein of Workshirt from Kelson Goods (80% superwash merino, 20% nylon) in Dirndl Blue (C) and Birch Bark (D). Each skein is approximately 430 yards (393 meters). Approximately 290 yards (264 meters required for Yarn C and approximately 218 yards (200 meters) required for Yarn D.
Yarn E: 1 skein of Workshirt from Kelson Goods (80% superwash merino, 20% nylon) in Blood Rose. Each skein is approximately 215 yards (196 meters). Approximately 91 yards (83 meters) required.
A set of US 0 (2.00 mm) double pointed needles
US 3 (3.25 mm) 16-inch circular needles
Stitch markers (including removable stitch markers)
Waste yarn
1 bag of craft stuffing
1 skein of black embroidery floss (I used the brand DMC)
Sharp sewing needle
Tapestry needle
Sewing pins
1 size B-1 (2.25 mm) crochet hook (optional)
1 size D-3 (3.25 mm) crochet hook (optional)
1 black ballpoint pen
1 4 inch x 12 inch piece of water-soluble fabric stabilizer (I used the brand Solvy)
1 spray bottle (to dissolve stabilizer)
GAUGE
For Bodies (Yarns A and B) with Size 0 needles: 32 sts and 40 rows = 4 inches in stockinette stitch
For Clothing (Yarns C, D and E) with Size 3 needles: 28 sts and 38 rows = 4 inches in stockinette stitch
SIZES
Finished Dimensions (from top of Head to Skirt edge):
Little Red Riding Hood: Approximately 10.5 inches long
Grandma/Wolf: Approximately 10.5 inches long